Cocos2d-x初学指南(1):在helloworld的基础上实现一个拖动图片
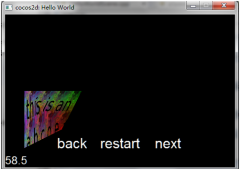
主角就是我们可爱的愤怒的小鸟哈哈,今天纠结这个问题主要用到了事件的监听,这个监听很多地方需要注意,先上代码。
[cpp]
CC_BREAK_IF(! CCLayer::init());
//build a bird
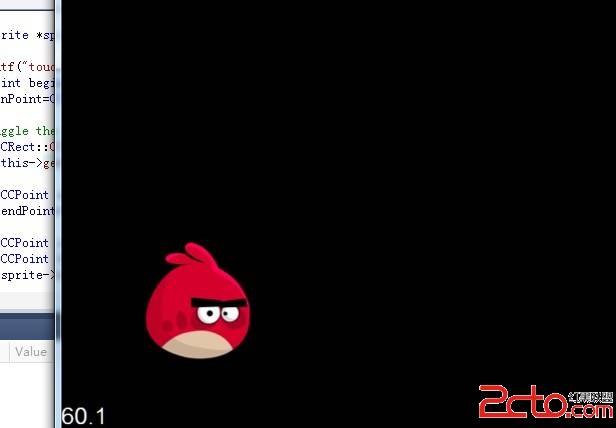
CCSprite* birdSpite=CCSprite::spriteWithFile("bird.png");
CC_BREAK_IF(!birdSpite);
birdSpite->setPosition(ccp(birdSpite->getContentSize().width,birdSpite->getContentSize().height));
this->addChild(birdSpite,10,1);
/*CCLabelTTF* helloText=CCLabelTTF::labelWithString("hello","Marker Felt",20);
CC_BREAK_IF(!helloText);
helloText->setPosition(ccp(100,300));
this->addChild(helloText,0,2);*/
this->setIsTouchEnabled(true);
CCTouchDispatcher::sharedDispatcher()->addTargetedDelegate(this, 0, true); //这一句是关键
上面代码创建了一个精灵,图片精灵,这是最基本的就不说啦, this->addChild()里面有3个参数,第一个是精灵,第二个是层次级别,第三个就是tag,标示符
后面会用到。
[cpp]
bool HelloWorld::ccTouchBegan(CCTouch *pTouch, CCEvent *pEvent)
{
return true;
}
void HelloWorld::ccTouchMoved(CCTouch *pTouch, CCEvent *pEvent)
{
CCSprite *sprite=(CCSprite*)this->getChildByTag(1);
printf("touched");
CCPoint beginPoint=pTouch->locationInView(pTouch->view());
beginPoint=CCDirector::sharedDirector()->convertToGL(beginPoint);
//juggle the area of drag
if(CCRect::CCRectContainsPoint(sprite->boundingBox(),
this->getParent()->convertTouchToNodeSpace(pTouch))==true)
{
CCPoint endPoint=pTouch->previousLocationInView(pTouch->view());
endPoint=CCDirector::sharedDirector()->convertToGL(endPoint);
CCPoint offSet =ccpSub(beginPoint,endPoint);
CCPoint toPoint=ccpAdd(sprite->getPosition(),offSet);
sprite->setPosition(toPoint);
}
}
began必须加,不然就没有后面的moved了。
记住还有在头文件里面加上 事件的虚方法声明哦,里面的参数要用cocos2d命名空间
相关新闻>>
![cocos2d_x+lua[2]](/uploads/allimg/131030/110J64609-0-lp.jpg)
- 发表评论
-
- 最新评论 进入详细评论页>>